

A garden path does far more than keep your shoes out of the mud. It gives the garden structure, leads the eye towards your favourite corners, and turns a walk to the shed into part of the pleasure of being outside. A beautiful path needs neither a designer nor a huge budget — stone, gravel and brick are all materials a confident beginner can lay in a weekend or two.
This guide covers the three classic materials, how to plan a route that works, and the simple steps to a path that still looks good in ten years' time.
Start with a Plan: Route, Width and Shape
 Notebook Pencil and Tape Measure Planning.jpg 48.95 KBWalk the route you use most often — from the back door to the gate, the compost heap or the greenhouse — because a path off your natural walking line will be bypassed, leaving a worn track across the lawn. Mark it with a hose or string and live with it for a few days, adjusting until it feels right.
Width matters more than people expect. A main path needs at least 90cm so two people can walk side by side and a wheelbarrow can pass; a secondary path through borders can be 60cm. Straight paths suit formal gardens and small plots, being direct and easy to lay, while gentle curves feel softer in cottage or woodland styles and hide the path's end, making a small garden feel bigger. Decide on edging now too — brick, timber, stone or metal edging keeps gravel in place, stops soil creeping over stone, and gives a crisp outline.
Stone Paths: Stepping Stones, Flagstone and Slate
 Large Flagstones Set into Green Lawn.jpg 508.64 KBStepping stones are the easiest place to start: large, flat slabs laid a comfortable stride apart, set into lawn or surrounded by gravel or low planting. They suit informal gardens beautifully and cost little, because you buy stone only for the steps, not the whole route.
Flagstone — big, flat pieces of sandstone, limestone or York stone — creates a solid, traditional walkway with real presence. It is the priciest material here, especially in natural stone, but lasts for decades and suits period homes well. Slate offers a different mood: dark blue-grey tones that look striking in modern gardens and deepen in colour when wet. Whichever you choose, pick slabs at least 38mm thick, bed them properly rather than on bare soil, and avoid polished finishes, which turn slippery in winter.
Gravel Paths: The Budget-Friendly Classic
 Gravel Path through Purple Lavender.jpg 861.35 KBGravel is the friendliest material for beginners: affordable, forgiving, and quick to lay. The secret to a path that stays neat is preparation. Dig out the route to about 10cm deep, level and compact the soil, then lay a woven weed-suppressing membrane over the whole area, pinned at the edges. Firm edging is essential — without it, gravel migrates into beds and lawns within weeks.
Add a base layer of crushed stone or hardcore around 5cm deep, compact it well, then top with decorative gravel to a finished depth of roughly 4–5cm. Any deeper and you will be wading through it; any shallower and the membrane shows through. For size, 10–20mm angular gravel is the sweet spot — it knits together underfoot far better than smooth pea shingle, which scatters everywhere. Gravel suits cottage gardens, Mediterranean-style planting and long paths where solid stone would cost a fortune.
Brick Paths: Patterns with Real Character
 Red Brick Path Lined with Green Hedges.jpg 630.24 KBBrick brings warmth and pattern no other material can match. The two classic patterns are herringbone, where bricks sit at 45 or 90 degrees in a zigzag that locks tightly and copes well with heavy use, and basket weave, where pairs of bricks alternate direction for a woven, chequered effect for traditional and cottage gardens. A simple running bond — straight, offset rows — is easiest for a first attempt.
Reclaimed bricks are a wonderful option: cheaper than new, their weathered colours blend into an established garden, and reusing them is greener. Check before you buy, though — only use bricks made for outdoor ground use, or frost-resistant engineering bricks, as soft old house bricks can crumble after a few hard winters. Lay bricks on a compacted base with a bed of sharp sand, brush dry sand into the joints, and finish with a soldier-course edge of bricks stood on end.
Mixing Materials and Finishing Touches
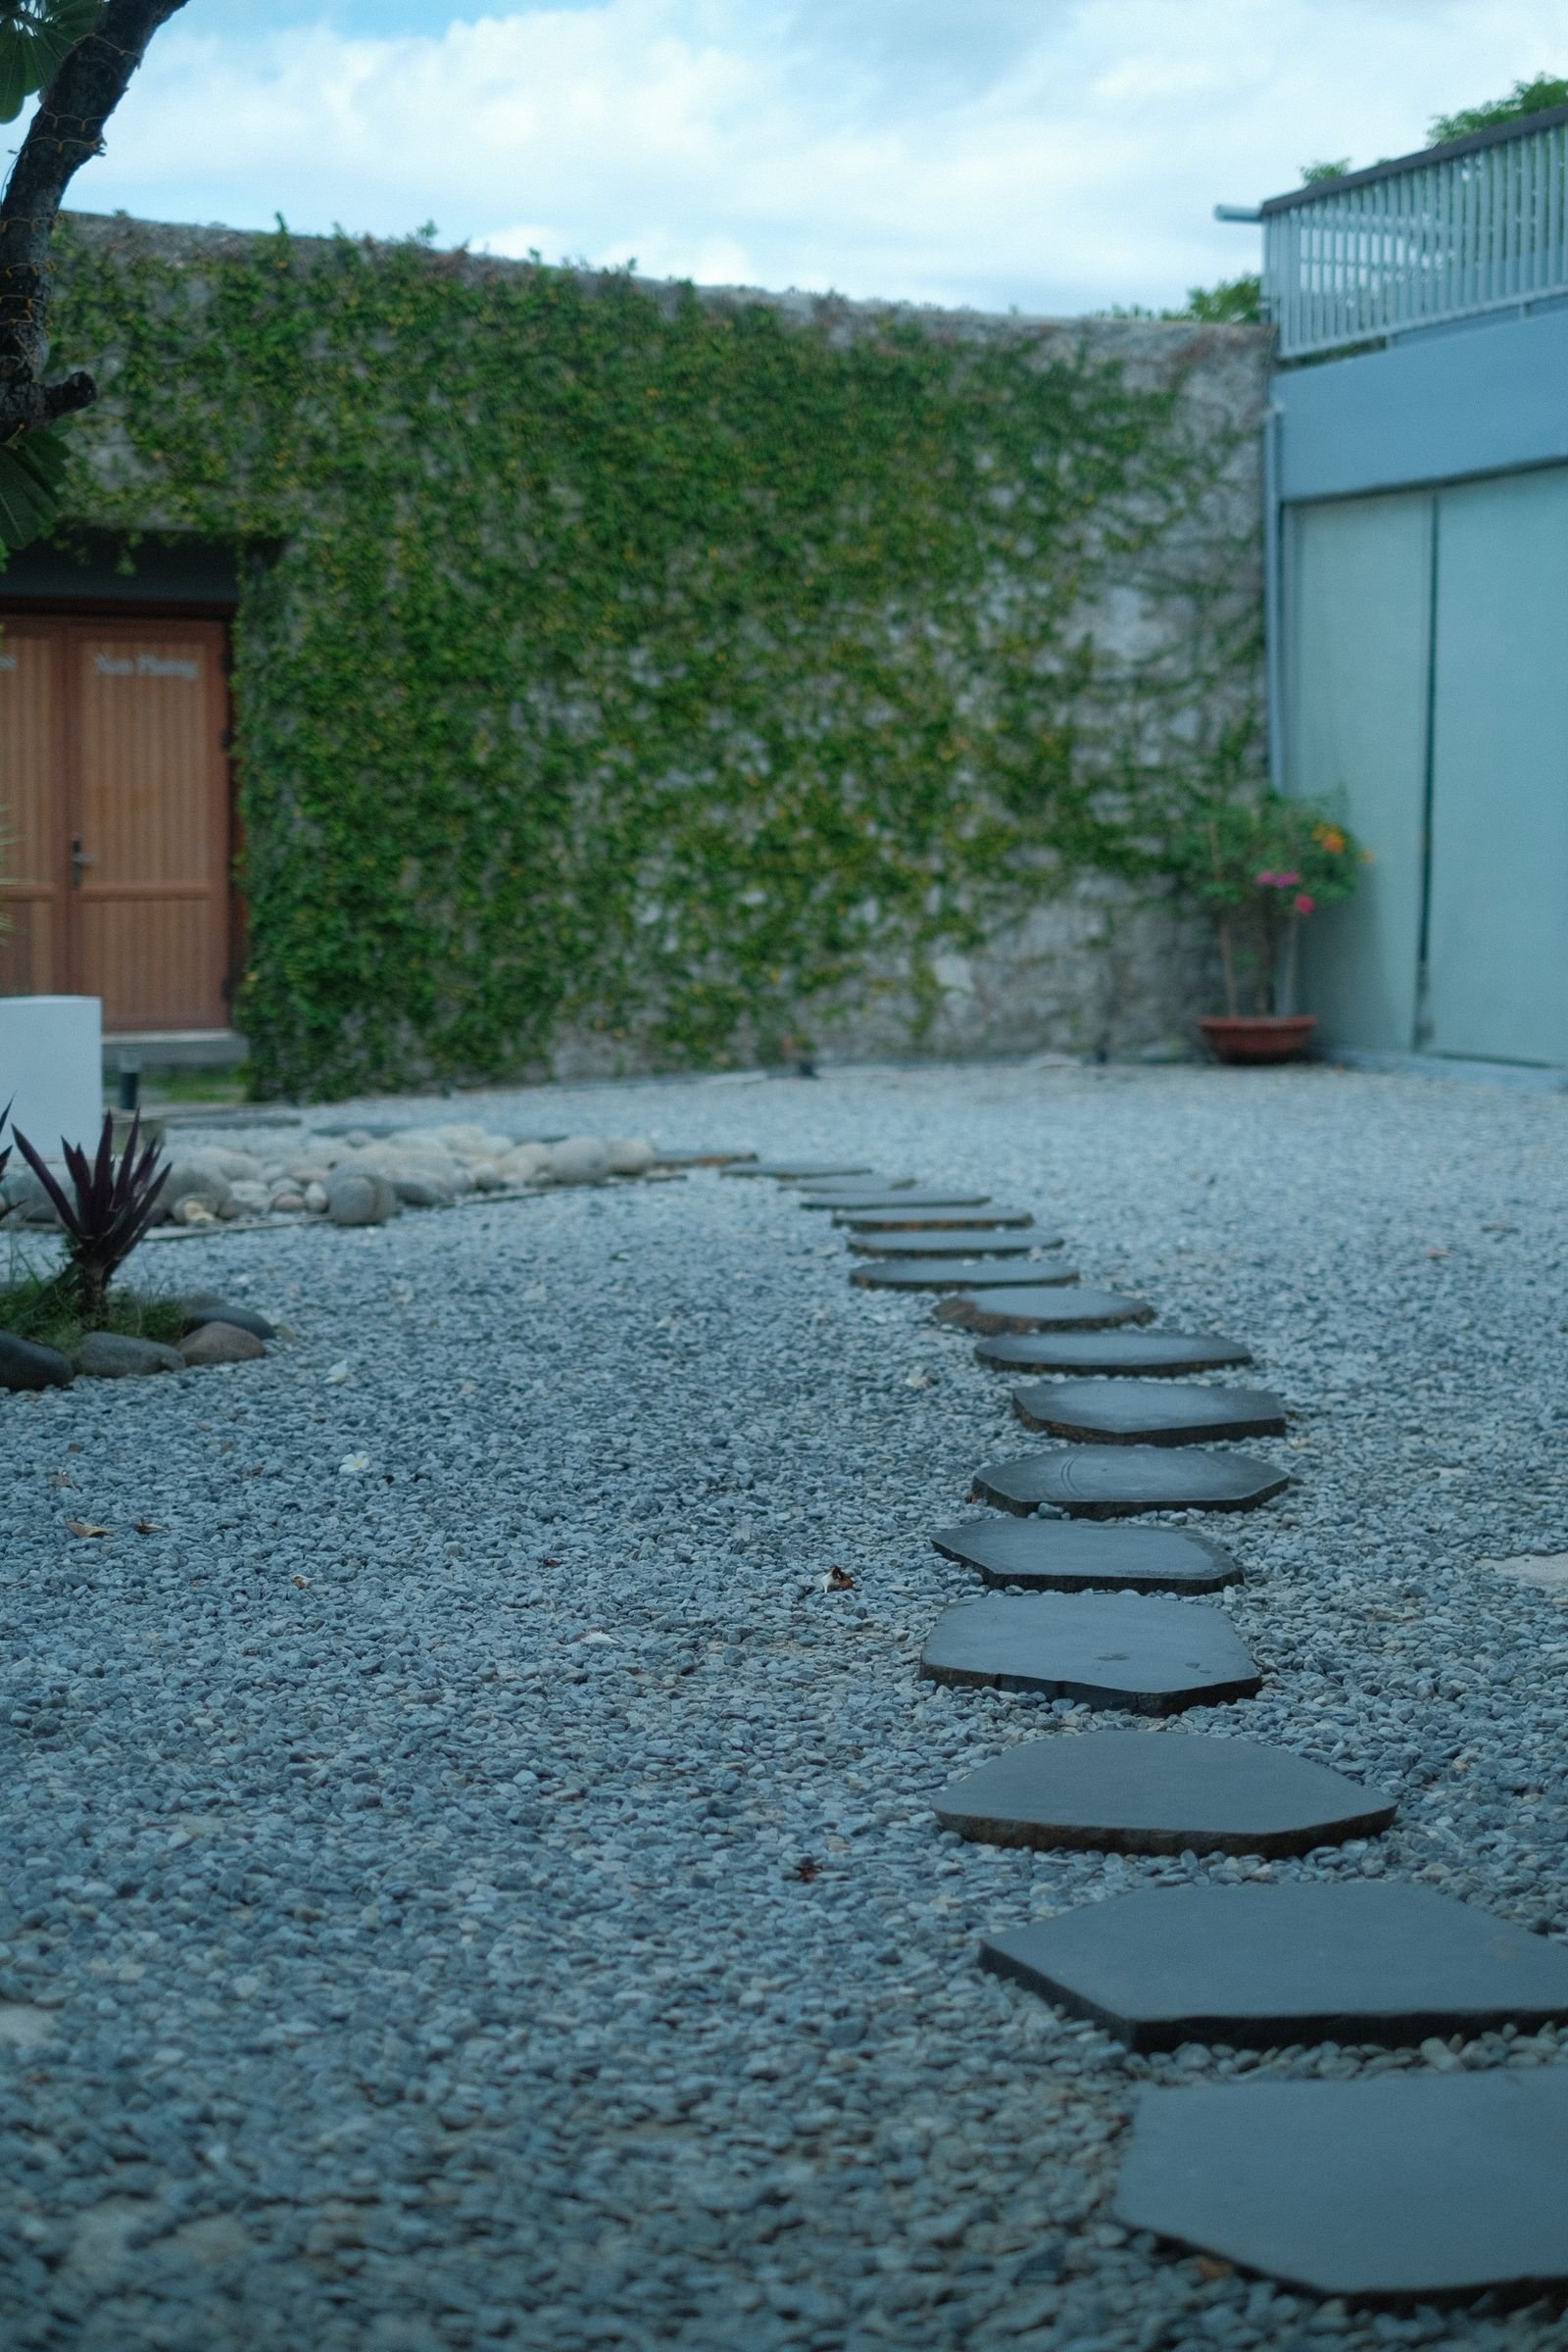 Stepping Stones Crossing Gravel Area.jpg 568 KBSome of the most attractive paths combine materials: stepping stones set into gravel give firm footing with a relaxed look, brick edging defines a stone path, and a gravel path can open into a paved circle for a bench. Mixing helps the budget too, letting you save expensive stone for areas nearest the house.
Finishing touches lift a path from practical to lovely. Low solar stake lights along the edge make evening walks safer and prettier, while planting softens hard lines — lavender, catmint, creeping thyme and ornamental grasses spill gently over edges without swamping the path. Keep taller planting slightly back so the route stays clear, and repeat the same few plants for a calm, designed feel.
Step by Step: Laying a Simple Path
 Wheelbarrow on Gravel Construction Site.jpg 296.33 KBThis basic method works for gravel and, with a sand bed added, for brick and stone too. Mark out the route with string lines and pegs, then dig out the soil to the depth your material needs — around 10cm for gravel, more for brick or stone. Remove roots and large stones, level the bottom and compact it firmly.
Fit your edging along both sides, level and secure. Lay the membrane, overlapping joins by at least 15cm. Add and compact the base layer, then spread or lay your top material: gravel raked level, bricks tapped into their sand bed, or stones checked with a spirit level as you go. Brush sand into the joints, water lightly to settle everything, and tidy the edges with soil or turf.
Keeping Your Path Looking Good: Maintenance by Material
 People Sweeping Leaves from Brick Path.jpg 329.98 KBStone paths need the least attention: sweep regularly, scrub algae with a stiff brush each spring, and re-level any rocking slab. Go gently with a pressure washer on sandstone, which can damage the surface.
Gravel paths ask for little and often: rake every few weeks to even out dips, add a thin top-up layer every couple of years, and pull weeds before they root through the membrane. Brick paths mainly need their joints watched — top up jointing sand as it washes out, replace any cracked brick individually, and brush moss off shaded paths instead of using chemicals where pets or wildlife roam.
Common Mistakes to Avoid
 Gravel Path with Wild Plants Growing Along Edge.jpg 432.02 KBThe most common mistake is skipping the edging: without it, gravel escapes, bricks spread and the path unravels at the sides. A close second is a shallow or missing base — paths laid straight onto soil sink, puddle and heave within a season or two, however pretty the top layer looks.
Getting the width wrong is another frequent regret; a 45cm path looks fine on paper but feels mean to walk on and hopeless with a wheelbarrow. Slippery surfaces catch people out too, so choose textured finishes and keep shaded, algae-prone paths scrubbed. Finally, do not fight your garden's natural route — a path that follows how people actually walk always works better.
Frequently Asked Questions
How deep should I dig for a garden path?
About 10cm for gravel, allowing for base and top dressing. Brick and stone usually need 12–15cm, depending on material thickness and bedding. On very soft soil, go deeper and add more base.
What is the cheapest garden path to lay?
Gravel is almost always cheapest, especially over long distances: it costs less per metre than stone or brick and needs no specialist tools. Stepping stones across a lawn come a close second for short routes.
Can I lay a path straight onto soil or grass?
Tempting, but rarely worth it. Without excavation, a membrane and a compacted base, paths sink unevenly, weeds push through, and gravel or bricks wander. An hour or two of digging saves years of frustration.
How do I stop weeds growing through my path?
Use a quality woven membrane under the base, keep joints filled with sand on brick and stone paths, and remove seedlings while tiny. Regular sweeping helps more than any spray, as most path weeds are blown-in seeds rooted in surface dirt.