
As skin matures, its needs shift dramatically. The heavy, matte foundations that worked in your twenties often settle into fine lines, accentuate dryness, and create a "cakey" mask that adds years rather than radiance. For mature skin, the goal of a foundation routine is not to erase every imperfection, but to enhance the skin’s natural luminosity, even out the tone, and provide a hydrated, "lit-from-within" finish.
The secret to a successful routine lies in the marriage of skincare and specialized application techniques. By focusing on moisture and light-reflecting properties, you can achieve smooth, natural coverage that stays fresh all day.
1. Hydration
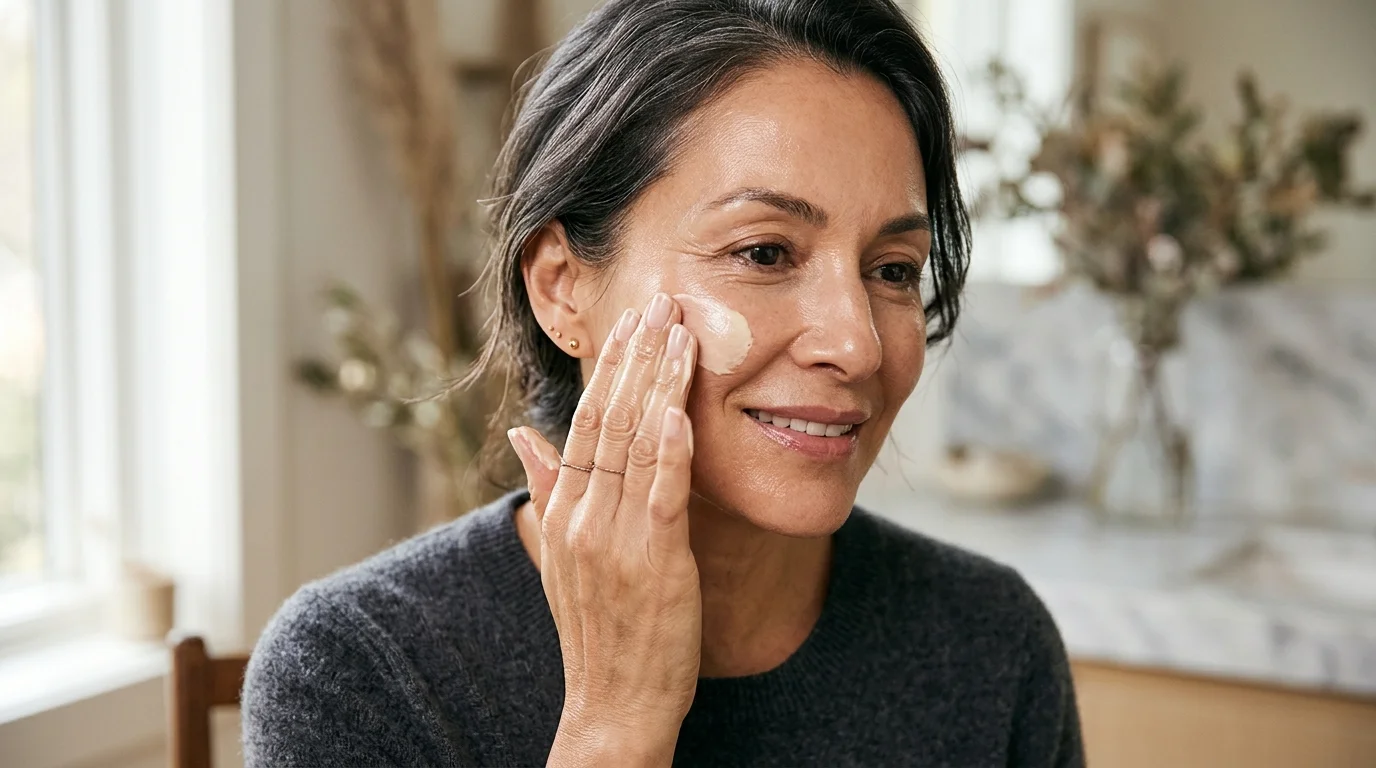
The most critical step in any mature makeup routine happens before you even touch a foundation bottle. Mature skin tends to produce less oil, leading to a compromised moisture barrier and a parched surface. If you apply foundation to dry skin, the pigments will cling to dry patches and settle into wrinkles.
Start with a multi-layered hydration approach. Use a hyaluronic acid serum on damp skin to pull moisture into the cells, followed by a rich, emollient moisturizer. Allow your skincare to sink in for at least five to ten minutes. This creates a plump, "bouncy" canvas that allows makeup to glide on rather than dragging across the skin.
2. Priming
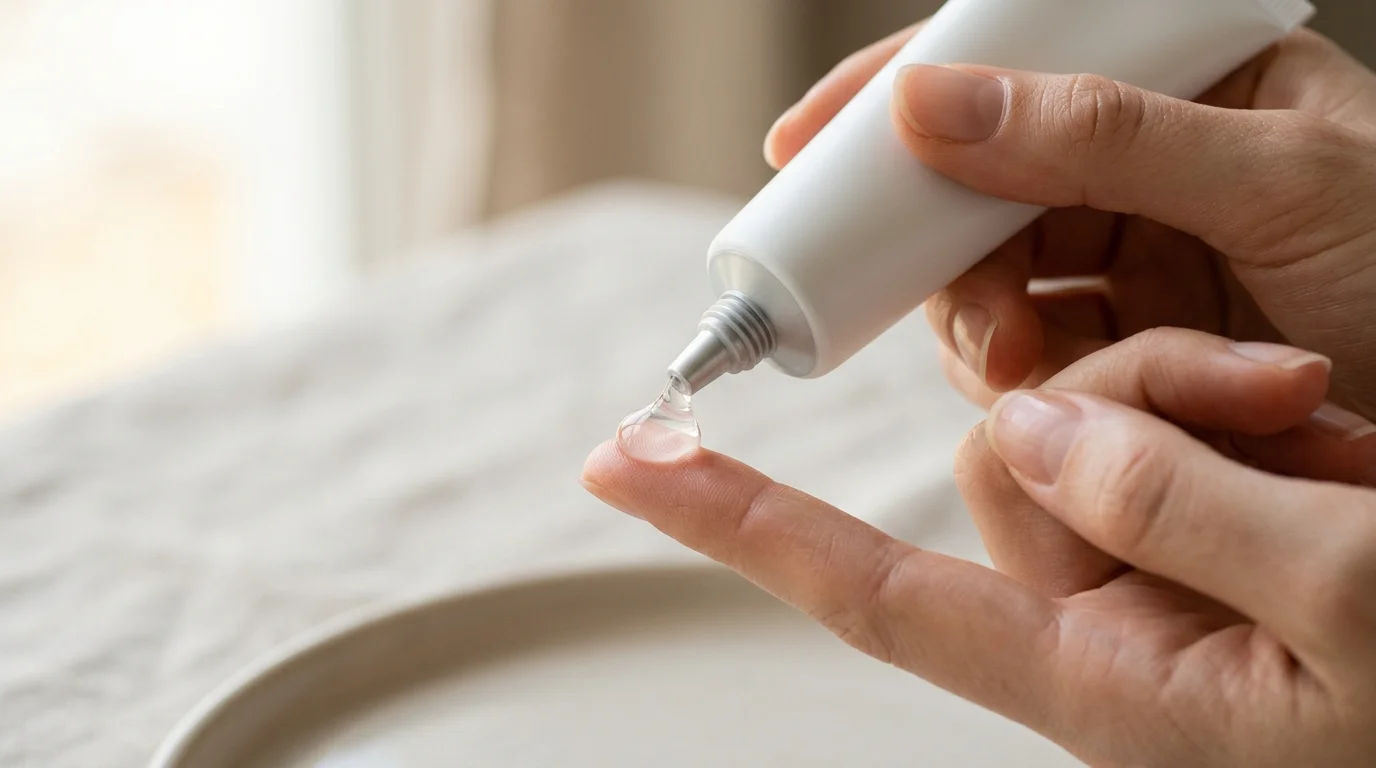
Priming is often misunderstood as an unnecessary step, but for mature skin, it acts as a crucial "spackle" for fine lines and enlarged pores. Look for a "blurring" or "illuminating" primer rather than a mattifying one.
Silicone-based primers are excellent for filling in deeper lines, providing a smooth surface for foundation. Alternatively, if your skin is exceptionally dry, an oil-based primer or a glow-enhancing lotion can provide an extra layer of slip and radiance. Focus your primer on the areas where makeup tends to disappear or crease—the T-zone, the bridge of the nose, and the nasolabial folds.
3. Foundation
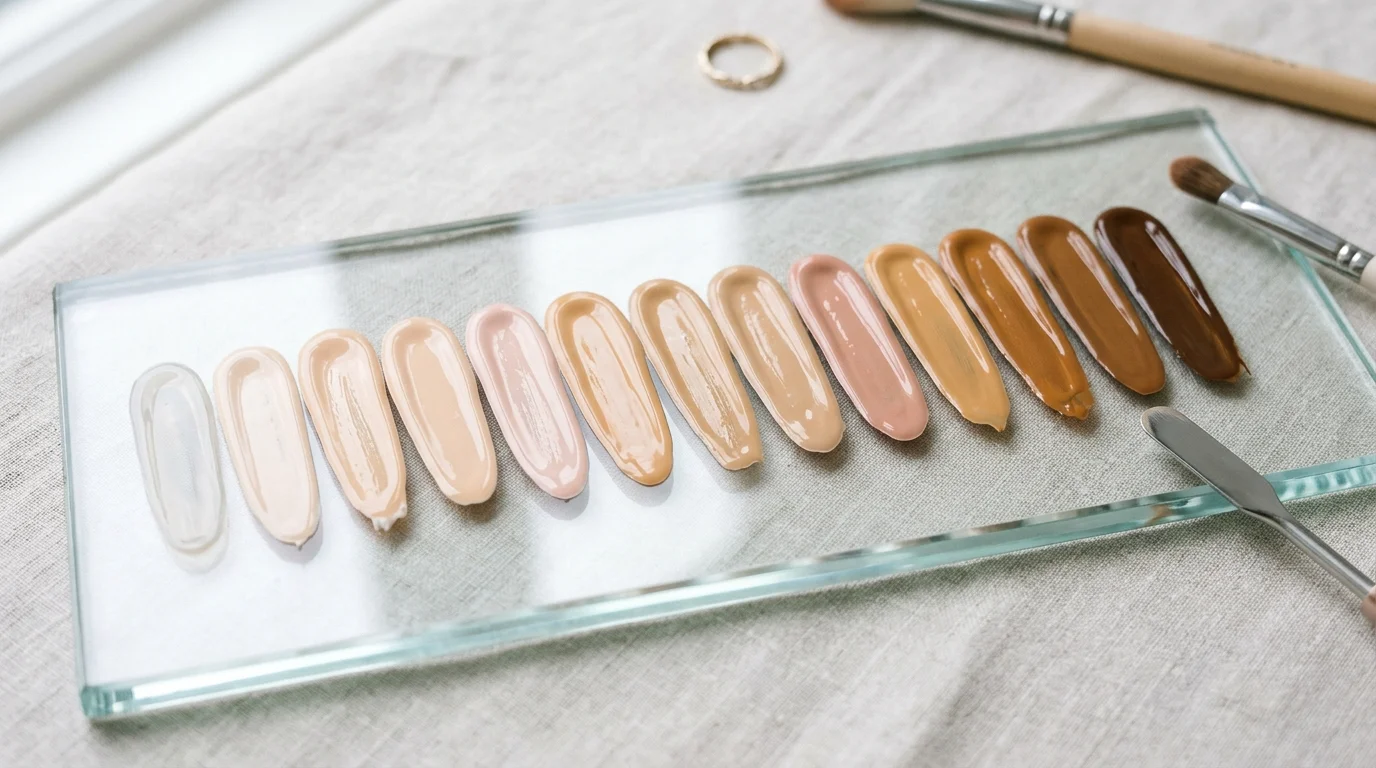
When choosing a foundation, the formula is everything. Avoid heavy powders or high-coverage "full matte" creams, as these lack the flexibility needed for skin that moves. Instead, opt for "serum foundations" or "luminous liquids." These formulas are infused with skincare ingredients like niacinamide or ceramides and have a thinner consistency.
The goal is medium coverage that is buildable. You want a product that allows your skin’s natural texture to peek through while neutralizing redness or age spots. A radiant or dewy finish is generally more flattering, as it reflects light away from shadows (like wrinkles) and creates the illusion of a smoother surface.
4. Tools
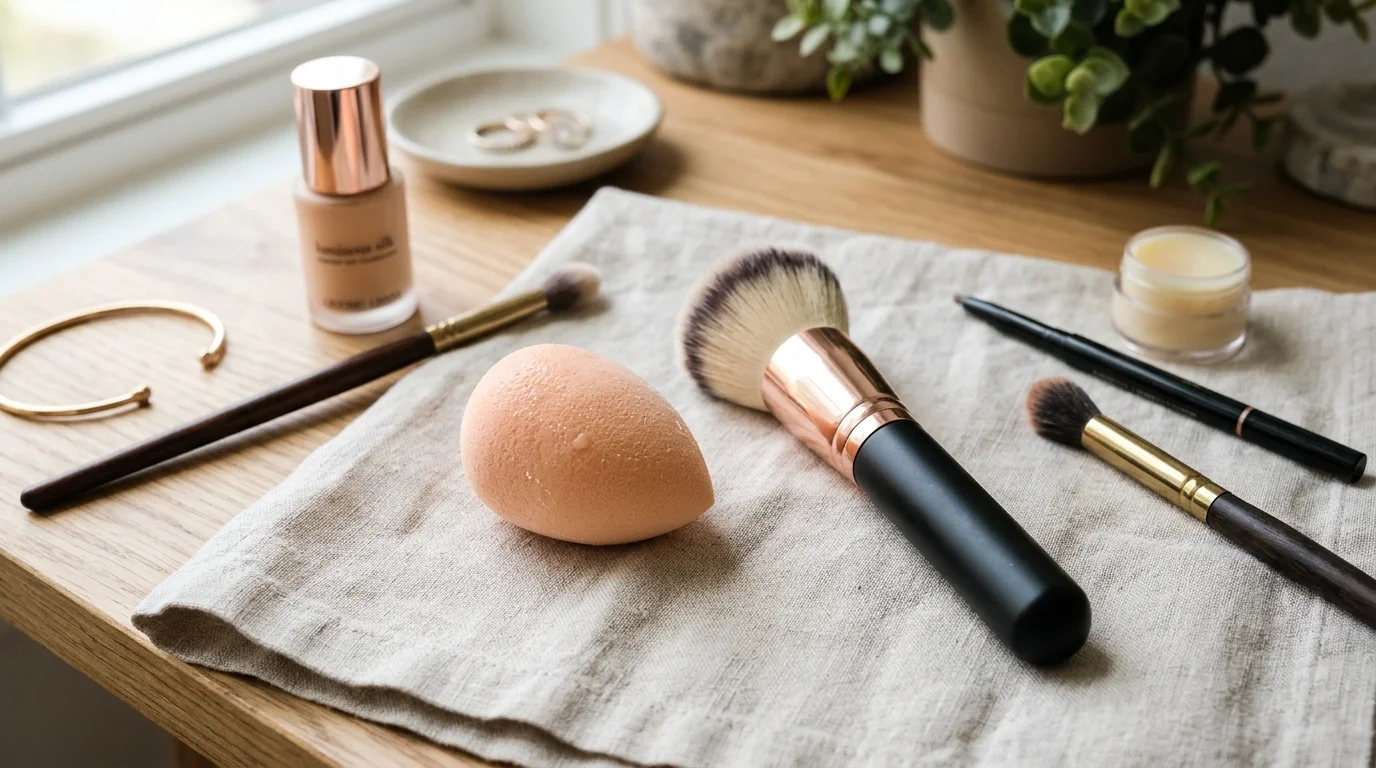
The tools you use can change the entire finish of your makeup. For mature skin, a damp beauty sponge is often the gold standard. The moisture in the sponge helps shear out the foundation, ensuring it doesn't look heavy, and the bouncing motion presses the product into the skin rather than letting it sit on top.
If you prefer a brush, choose a duo-fiber stippling brush. This allows for a very light application, depositing small amounts of product that you can gradually build up. Avoid using your fingers if you have textured skin, as the warmth can sometimes cause certain formulas to break down or apply unevenly.
5. Technique
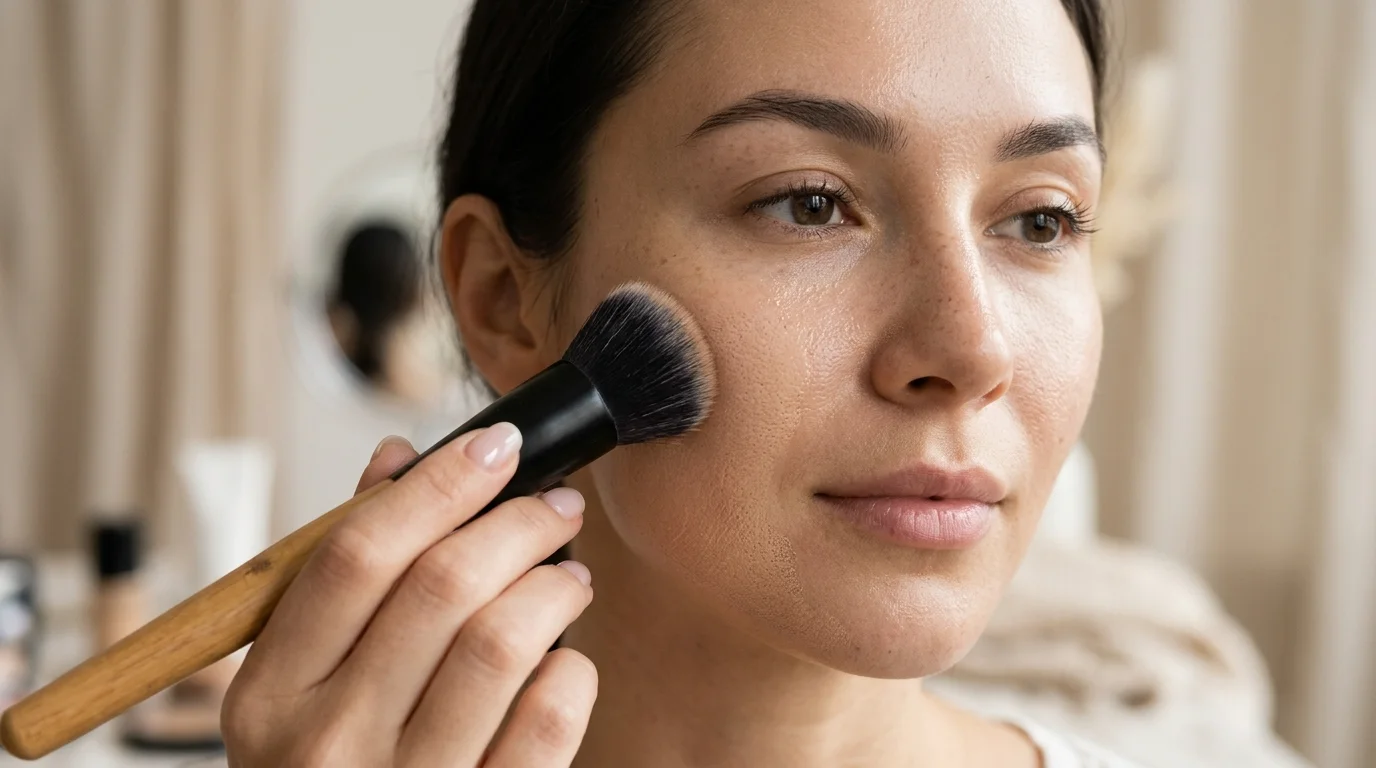
The "less is more" philosophy is paramount. Start by applying a small amount of foundation to the center of your face—where most redness occurs—and blend outward toward the hairline and jaw. By the time you reach the edges of your face, there should be very little product left on your tool.
Crucially, avoid putting a heavy layer of foundation directly over areas with deep expression lines, such as crow's feet or forehead lines. The more product you put in those areas, the more there is to migrate into the creases. Use whatever is "leftover" on your sponge for these zones.
6. Concealer

As we age, the skin under the eyes becomes thinner and more prone to darkness. However, heavy, thick concealers are the enemy of mature under-eyes. Choose a lightweight, hydrating concealer with light-reflecting particles.
Instead of the "large triangle" method popular on social media, use the "lifting" technique. Place a tiny dot at the inner corner of the eye to brighten darkness and another dot at the outer corner, blending upward toward the temple. This creates a visual lift. If you have age spots or broken capillaries, use a tiny pinpoint brush to spot-conceal only the specific area rather than covering the whole cheek in thick pigment.
7. Setting
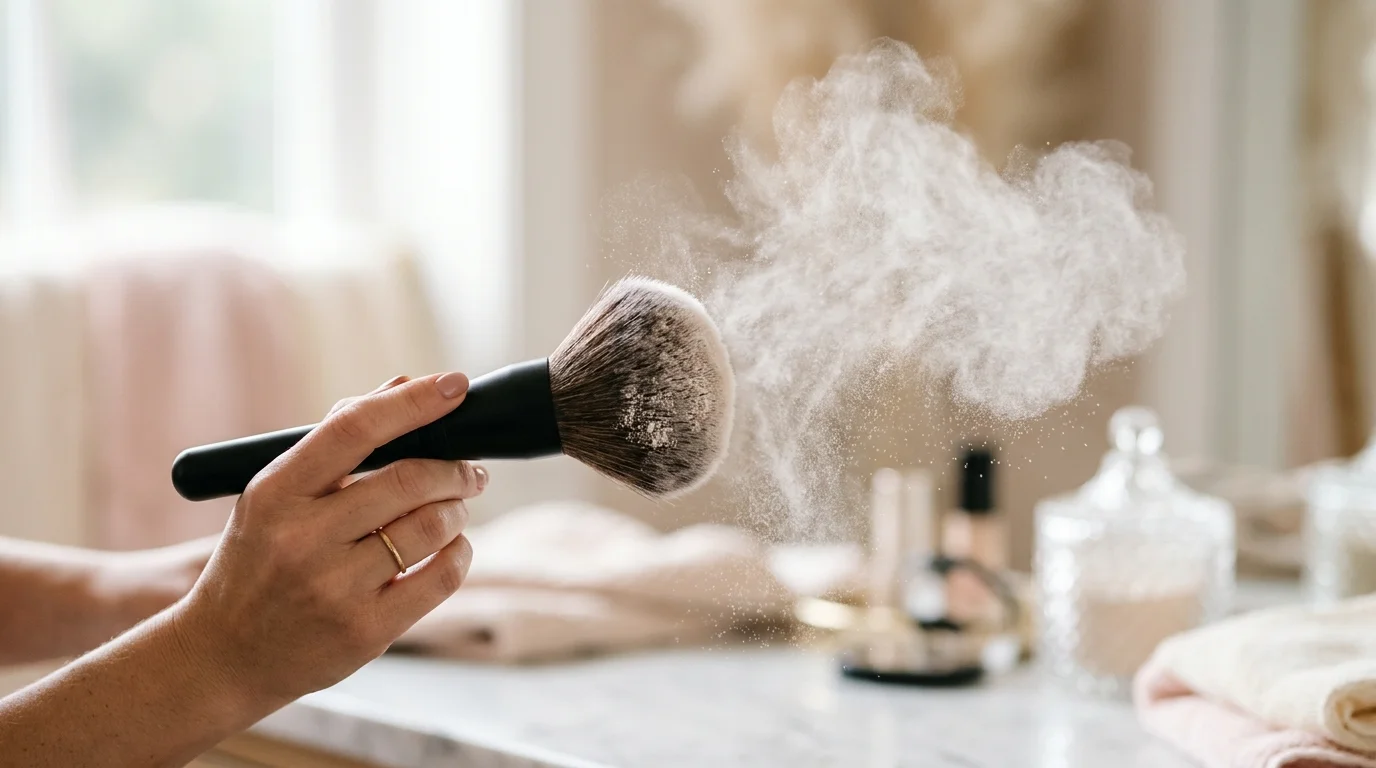
Powder can be the downfall of a mature makeup look if used incorrectly. A heavy dusting of powder will instantly kill the glow you’ve worked so hard to create and will make the skin look dry and "cracked."
Use a finely-milled, translucent loose powder. Instead of a large brush, use a small, fluffy eyeshadow brush to apply powder only where you truly need it—usually just the under-eyes and the sides of the nose. This prevents creasing without dulling the radiance on your cheekbones and forehead. Finish the entire look with a hydrating setting spray to "melt" the layers together and lock in moisture.
Conclusion
Creating a flawless foundation routine for mature skin is an art of balance. It requires prioritizing skin health through intense hydration, choosing lightweight and light-reflecting formulas, and applying products with a light hand. By moving away from heavy, corrective mask-like coverage and embracing a routine that celebrates the skin's natural glow, you achieve a look that is both sophisticated and youthful. Remember, the best foundation for mature skin isn't the one that hides your age—it’s the one that makes your skin look like its healthiest, most vibrant version.
Frequently Asked Questions
Can I still use powder foundation if I have mature skin?
While liquid and cream foundations are generally more flattering for mature skin, you can still use powder if you prefer it. Look for "baked" powder foundations or mineral formulas that have a silky, rather than chalky, texture. Ensure your skin is exceptionally well-moisturized beforehand to prevent the powder from sucking moisture out of your skin.
How do I stop foundation from settling into my upper lip lines?
The key is to use as little product as possible in that area. Apply your foundation to the rest of your face first, then use only the residue on your sponge for the upper lip. Using a dedicated lip-line primer or a tiny bit of eyeshadow primer on the skin above the lip can also help create a barrier that prevents the foundation from migrating into those fine lines.
Is a dewy finish always better than a matte finish for older skin?
In most cases, yes, because a dewy finish mimics the natural oils of young skin. However, "dewy" doesn't have to mean "greasy." If you have oily-mature skin, look for a "satin" or "natural" finish. These formulas provide a subtle glow without the excess shine that can highlight skin texture or large pores.