
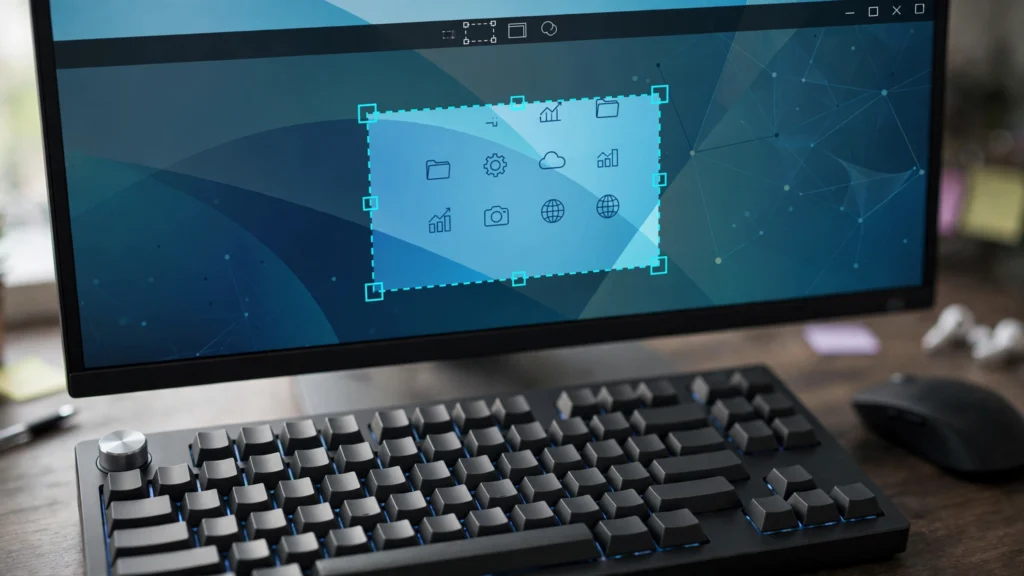

The Snipping Tool shortcut is the fastest way to take a screenshot on Windows: Windows + Shift + S opens the capture overlay instantly — no app to open, no menus to click. It works on both Windows 11 and Windows 10.
This 2026 guide covers every Snipping Tool keyboard shortcut — the main capture shortcut, in-app shortcuts, the screen-recording shortcut, Print Screen remapping, where screenshots get saved, what to do when Win+Shift+S stops working, Windows 10 vs 11 differences, and Mac equivalents.
The Main Snipping Tool Shortcut: Win + Shift + S
Press Win + Shift + S and the screen dims, a toolbar appears at the top, and you can capture immediately. The snip copies to your clipboard — paste it anywhere (Ctrl+V) — and a notification opens the editor for annotation and saving.
Quick answer box: The Snipping Tool shortcut on Windows 11 and 10 is Win + Shift + S for screenshots and Win + Shift + R for screen recording (Windows 11).
All Snipping Tool Keyboard Shortcuts
| Shortcut | What it does |
|---|---|
| Win + Shift + S | Open capture overlay (screenshot) |
| Win + Shift + R | Open screen-recording overlay (Windows 11) |
| Alt + N | New snip in same mode (app open) |
| Alt + M | Change snip mode (app open) |
| Alt + D | Set capture delay 1–5 seconds (app open) |
| Ctrl + S | Save snip |
| Ctrl + C / Ctrl + V | Copy / paste snip |
| Ctrl + Z | Undo annotation |
| Shift + arrow keys | Select rectangular area with keyboard |
| Esc | Cancel snip |
The 4 Snip Modes Explained
- Rectangular: drag to select any rectangular area — the one you’ll use 90% of the time.
- Freeform: draw any shape around what you want.
- Window: click a window to capture just it.
- Full-screen: capture everything, all monitors.
Switch modes with Alt + M while the app is open, or pick from the overlay toolbar.
Screen Recording Shortcut: Win + Shift + R
On Windows 11, the Snipping Tool also records video. Press Win + Shift + R, select an area, hit record. Recordings save to Videos > Screen Recordings.
- No extra software needed — it’s built in.
- Great for quick tutorials, bug reports, and capturing ephemeral content.
- Windows 10: this shortcut doesn’t exist; use Win + G (Xbox Game Bar) for recording instead.
Print Screen Shortcuts and Remapping
| Shortcut | What it does |
|---|---|
| PrtScn | Full screen to clipboard (default) |
| Win + PrtScn | Full screen, auto-saves PNG to Pictures > Screenshots |
| Alt + PrtScn | Active window to clipboard |
Make the Print Screen Key Open Snipping Tool
- Open Settings > Accessibility > Keyboard.
- Turn on “Use the Print Screen key to open screen capture”.
- Now a single PrtScn press opens the Snipping Tool overlay.
Note: Windows doesn’t let you replace Win + Shift + S itself with a custom combo from Settings — this remap is the closest built-in option.
Where Do Snipping Tool Screenshots Get Saved?
- Win + Shift + S: clipboard only — paste anywhere, or click the notification to save. With auto-save enabled (Snipping Tool → ⋯ → Settings → “Auto save screenshots”), files also land in Pictures > Screenshots.
- Win + PrtScn: auto-saves PNG directly to Pictures > Screenshots.
- Screen recordings: Videos > Screen Recordings.
- Xbox Game Bar captures: Videos > Captures.
- Lost a snip? Press Win + V to open clipboard history and retrieve it.
Delay Timer: Capturing Menus and Tooltips
Some things vanish when you press a key — dropdown menus, tooltips, hover states. Fix: open Snipping Tool, press Alt + D, and set a 1–5 second delay. The screen waits, you open the menu, and the capture fires automatically.
Win + Shift + S Not Working? Fixes That Work
The most common Snipping Tool problem. Work through these in order:
- Check for conflicting software. Screen-recording or screenshot apps (and some keyboard/mouse utilities) hijack Win+Shift+S. Close or reconfigure them.
- Reset the Snipping Tool. Settings > Apps > Snipping Tool > Advanced options → Repair, then Reset if needed.
- Update Windows. A broken Snipping Tool is often fixed by the latest cumulative update.
- Reinstall via Microsoft Store. Uninstall Snipping Tool, then reinstall it from the Store.
- Check the keyboard. On compact laptops, Fn may need combining with Shift/S; test with an external keyboard.
- Try the PrtScn remap (above) as an alternative trigger.
Windows 10 vs Windows 11: What Changes
| Feature | Windows 10 | Windows 11 |
|---|---|---|
| Win + Shift + S | Yes | Yes |
| Screen recording (Win + Shift + R) | No (use Xbox Game Bar) | Yes, built in |
| Snip & Sketch | Legacy app (merged) | Merged into Snipping Tool |
| Auto-save screenshots | Varies | Settings toggle |
Snip & Sketch: The Legacy Note
Snip & Sketch was Microsoft’s earlier screenshot app. It’s been merged into Snipping Tool (on Windows 11 and back-ported to Windows 10). If old guides tell you to open Snip & Sketch, just use Snipping Tool instead — same features, one app.
Snipping Tool vs Print Screen vs Xbox Game Bar
| Method | Best for | Shortcut |
|---|---|---|
| Snipping Tool | Flexible screenshots + annotation + recording | Win + Shift + S / Win + Shift + R |
| Print Screen | Instant full-screen capture | PrtScn / Win + PrtScn |
| Xbox Game Bar | Gaming captures, quick recording on Win 10 | Win + G, then camera icon |
Rule of thumb: Snipping Tool for anything deliberate, Print Screen for “grab everything now,” Game Bar for games and Windows 10 recording.
How to Take a Scrolling Screenshot
Snipping Tool cannot capture scrolling windows natively — a common frustration. Workarounds:
- Browser full-page capture: Edge/Chrome DevTools (Ctrl+Shift+I → command menu → “Capture full size screenshot”).
- Third-party tools: ShareX (free, open-source) and PicPick capture scrolling windows on Windows.
- Stitch manually: take overlapping snips and merge them in any image editor.
Snipping Tool Settings Worth Changing
- Auto save screenshots: on — never lose a capture.
- Ask to save edited screenshots: on — prevents accidental loss.
- Multiple app windows: on if you compare screenshots side by side.
- Print Screen remap (Settings > Accessibility > Keyboard): on if you screenshot constantly.
Mac Screenshot Shortcuts (Quick Reference)
- Cmd + Shift + 3 — full screen (saves to Desktop)
- Cmd + Shift + 4 — select an area
- Cmd + Shift + 4, then Spacebar — capture a window
- Cmd + Shift + 5 — screenshot menu (options + screen recording)
- Add Control to any combo to copy to clipboard instead of saving.
Power-User Tips
- Pin Snipping Tool to the taskbar for one-click access alongside the shortcut.
- Annotate fast: the editor has pen, highlighter, eraser, ruler, and crop — Ctrl+Z undoes.
- Clipboard history (Win + V) keeps recent snips — never lose a capture again.
- Text action: newer Snipping Tool versions can extract text from screenshots (OCR) — look for the text button in the editor.
- OneDrive backup: if Pictures folder backup is on, screenshots sync automatically.
Frequently Asked Questions
What is the shortcut for Snipping Tool on Windows 11?
Win + Shift + S opens the Snipping Tool capture overlay for screenshots. Win + Shift + R opens screen recording. Both work from anywhere — no need to open the app first.
Why is Win + Shift + S not working?
Usually another app is hijacking the shortcut (screen recorders, keyboard utilities). Close suspects, then repair/reset Snipping Tool (Settings > Apps > Advanced options), update Windows, or reinstall from the Microsoft Store. On compact laptops, the Fn key may interfere.
How do I make the Print Screen key open Snipping Tool?
Go to Settings > Accessibility > Keyboard and turn on “Use the Print Screen key to open screen capture.” After that, pressing PrtScn alone opens the Snipping Tool overlay.
What is the Snipping Tool shortcut for screen recording?
Win + Shift + R on Windows 11 opens the recording overlay. Select an area and hit record; videos save to Videos > Screen Recordings. On Windows 10, use Win + G (Xbox Game Bar) instead.
Where do Snipping Tool screenshots get saved?
By default, Win + Shift + S copies to the clipboard (paste with Ctrl+V). Enable “Auto save screenshots” in Snipping Tool settings to also save files to Pictures > Screenshots. Win + PrtScn always auto-saves there.
Conclusion
Win + Shift + S is one of Windows’ most useful shortcuts — instant screenshots from anywhere, with annotation, delay timers, and (on Windows 11) screen recording built in. Learn the in-app shortcuts (Alt + N/M/D), enable auto-save, and remap PrtScn if you capture often.
Once it’s muscle memory, you’ll wonder how you ever screenshotted without it.
Explore more on StarsInfos.